Pages: [1]   Go Down

Author Topic: Fuji 680 III focusing screen adjustment  (Read 1605 times)

FredBGG

  • Sr. Member
  • ****
  • Offline Offline
  • Posts: 1630
Fuji 680 III focusing screen adjustment
« on: September 06, 2012, 01:57:55 pm »

A menber here asked me for this info so I thought I would post the answer here.

Hi Fred,

Understand that you know just about everything about the GX 680 III!  :)

I would need a slight adjustment of the focusing screen, to lower it ever so little, but cannot figure out which screws to turn? Would it be possible (at your conveniance) to take a snapshot with the screen removed and point at the correct screws....that would be really great! I have googled but simply cannot find this anywhere.

All the best,
Dan


[imghttp://farm9.staticflickr.com/8304/7944635140_38ac41f6e2_b.jpg[/img]

Before making any adjustments I recommend adding a black dot to one side of each screw and taking a snapshot
of the position of each screw.

Make small adjustments and keep not of them.

Also check that the screen is not distorted. Some beattie screens can deform.

You can also send the body to Fuji USA. The still service the 680 and still have the focus/mirror adjustment jig.

Ask for Bob Metalski.
Logged

DanLindberg

  • Newbie
  • *
  • Offline Offline
  • Posts: 20
    • Dan Lindberg Photography
Re: Fuji 680 III focusing screen adjustment
« Reply #1 on: September 06, 2012, 02:08:20 pm »

Excellent! Thank you  :)

Why I was so uncertain was simply because I expected 4 screws, one in each corner. I will mark them and make sure I can go back to the original position.

Appreciate the advice!  ;D
Logged
Alpa FPS & MAX & SWA & TC | SK 28XL | SK 35XL | SK 72L | SK 90N | SK 120N | Leaf Aptus II 5 & Leaf CREDO 60
http://www.danlindberg.com
https://www.facebook.com/danlindbergphotography

FredBGG

  • Sr. Member
  • ****
  • Offline Offline
  • Posts: 1630
Re: Fuji 680 III focusing screen adjustment
« Reply #2 on: September 06, 2012, 02:17:45 pm »

They do not have a locking nuts or anything like that.

They have friction springs so they are easy to adjust.

Here is how to do your adjustment.

put a target at the center of the frame.

adjust the side with the single screw untill the target is infocus. then back off 50%.

next make the same adjustments (with the 50% correction) to the two screws on the other side.

This is assuming the screen was correctly level and just needed a global adjustment.

What are you settingit up for?

A digital back?
Logged

andyptak

  • Sr. Member
  • ****
  • Offline Offline
  • Posts: 469
Re: Fuji 680 III focusing screen adjustment
« Reply #3 on: September 06, 2012, 04:35:58 pm »

I have a reverse situation to this Fred.

I put a modified stitching back on my Fuji which meant the screen had to be shimmed up in order to focus properly. I had that done without major issues, but now the screws holding down the screen are too short - I think the shim was about 25-30 microns (is that the term?) . The viewfider assembly still snaps on and that is what is holding the screen in place. If I switch to a different finder though, it has to be done carefully because the screen and shims are not held down properly. Do you know where I could find (longer) replacement screws? Thanks.
Logged

FredBGG

  • Sr. Member
  • ****
  • Offline Offline
  • Posts: 1630
Re: Fuji 680 III focusing screen adjustment
« Reply #4 on: September 06, 2012, 07:01:50 pm »

I have a reverse situation to this Fred.

I put a modified stitching back on my Fuji which meant the screen had to be shimmed up in order to focus properly. I had that done without major issues, but now the screws holding down the screen are too short - I think the shim was about 25-30 microns (is that the term?) . The viewfider assembly still snaps on and that is what is holding the screen in place. If I switch to a different finder though, it has to be done carefully because the screen and shims are not held down properly. Do you know where I could find (longer) replacement screws? Thanks.

Was a shim aded to the focusing screen or was material removed?
Logged

andyptak

  • Sr. Member
  • ****
  • Offline Offline
  • Posts: 469
Re: Fuji 680 III focusing screen adjustment
« Reply #5 on: September 07, 2012, 08:07:07 am »

I'm using a P25 back with a Mamiya mount. The Kapture Group stitching back only comes in a Hassy V mount, so Keith modified the adaptor for me to accept the Mamiya mount. In doing so, he warned me that the focus would now change and supplied me with a series of shims to put under the focusing screen to raise it. The .25 shim did the trick in raising the screen to allow proper focus. The retaining screws are now a bit short and will not securly hold the focusing screen in place. All that holds it is the pressure from the focusing hood which does mount properly, by the way. It's no big deal, but I would like to secure the screen properly and haven't found a source for the proper screws - not exactly a Home Depot item.
Logged

FredBGG

  • Sr. Member
  • ****
  • Offline Offline
  • Posts: 1630
Re: Fuji 680 III focusing screen adjustment
« Reply #6 on: September 07, 2012, 06:04:25 pm »


The focus adjustment screws (green arrows) only support the focusing screen from below and enable fine tuning.

The focusing screen locking mechanism is made up of two fixed latches and a moving one (circled in pink)

I'm not sure how much you need to raise the focusing screen, but you might be able to open up
the focusing screen frame and remove the glass and add a shim under the matte screen inside the frame.

The Focusing frame has two small screws at the front on the sides and lets you open it up and slide out
both the glass and the matte focusing screen.

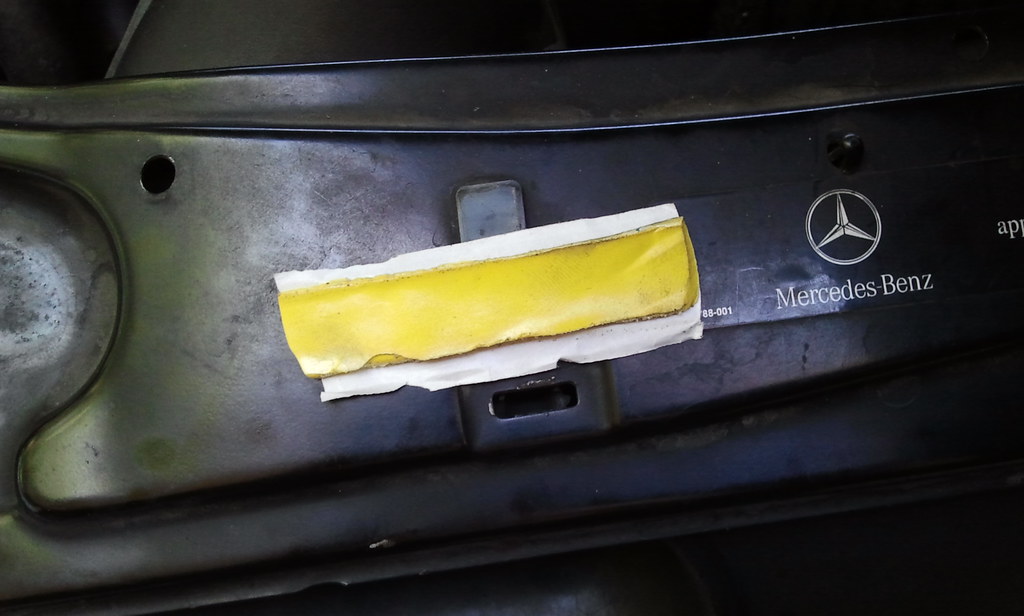
If that does not work for you you could use some vacuum bagging tape to keep the focusing screen nice and snug.
While it is called tape it is actually a strip of sticky mouldable paste. It is very clean and leaves no residue. Won't melt or run.
It is actually used to clean focusing screens. Once you set it it adhears really well and does not move.

It's hard to find, but if you can't find it I can send you an inch or two.

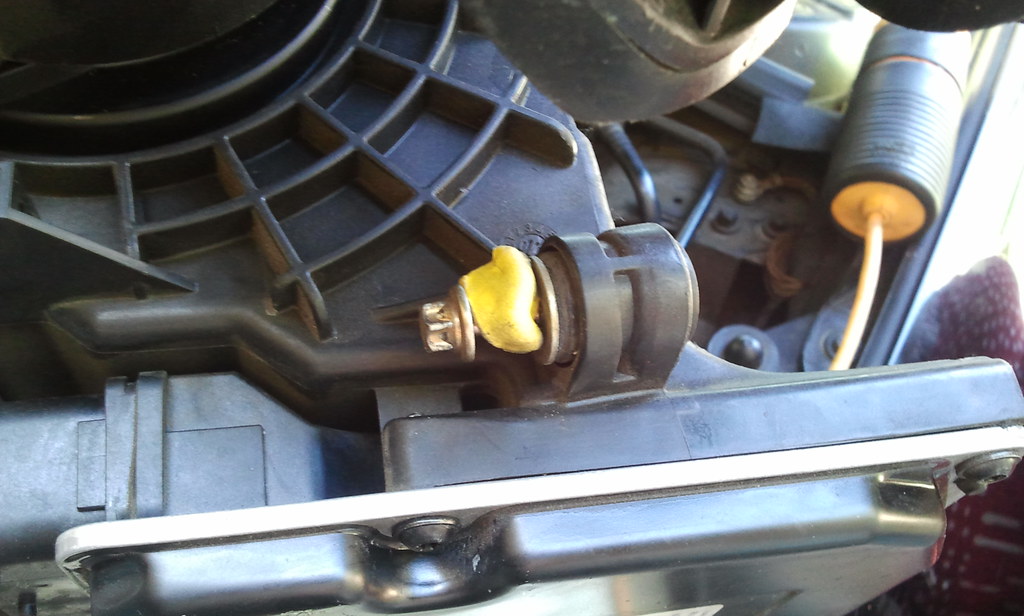
Here I used it to hold some nuts in place to assemble a pain in the but Mercedes Air intake.


Logged
Pages: [1]   Go Up